Introduction
BoxTrapper is a feature available in your cPanel, which acts as a gatekeeper to your email inbox. By filtering out automated spam, Boxtrapper ensures only emails from authorised senders reach your inbox. This not only keeps your email management efficient but also alleviates the nuisance of sifting through spam. Having a tool like BoxTrapper is invaluable for both individuals and businesses. Read on to discover the basics of activating and configuring BoxTrapper, followed by an in-depth exploration of its options and functionalities.
Quick Start Guide
Activating BoxTrapper
- Locate the Email Section: Within your cPanel dashboard, navigate to the ‘Email’ section.
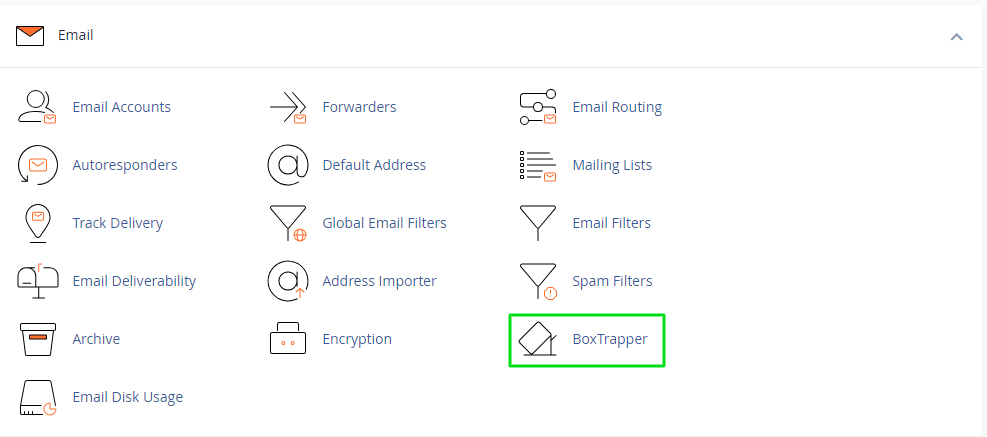
- Access BoxTrapper: Click on the ‘BoxTrapper’ icon to open the BoxTrapper management interface.
- Enable BoxTrapper: Select the email account you wish to enable BoxTrapper for, and click ‘Enable’.
Configuring Basic Settings
- Edit Confirmation Messages: Customise the confirmation messages that will be sent to senders who are not yet on your whitelist.
- Manage Whitelist and Blacklist: Set up your whitelist and blacklist to manage known good and bad senders.
In-depth Guide
Understanding the Whitelist and Blacklist
BoxTrapper operates on a simple yet effective principle; it maintains a whitelist and a blacklist to filter your emails. The whitelist consists of approved email addresses that can send emails to your inbox. Conversely, the blacklist contains the email addresses that are blocked.
Example:
Suppose you have a colleague, John, whose email address is john.doe@example.com. To ensure you receive emails from John, you would add his email address to the whitelist.
Customising Confirmation Messages
The core of BoxTrapper’s efficiency lies in its confirmation messages. When an unknown sender emails you, BoxTrapper sends a confirmation message, requiring them to verify their email address. This simple action filters out automated spam and only allows genuine users to contact you.
Example:
You could personalise the confirmation message to reflect your brand’s tone, making the verification process more engaging for the sender.
Reviewing Queue and Logs
BoxTrapper keeps a meticulous record of the emails it filters. Through the ‘Review Queue’ and ‘Logs’, you can view the emails held for verification, and the actions taken by BoxTrapper, respectively. This transparency provides you with a clear oversight over your email management.
Example:
If a client mentions they sent you an email which you haven’t received, you can check the Review Queue to see if their email is awaiting verification.
Forward List and Bounce Messages
The Forward List allows you to forward emails from certain addresses to another email account without requiring verification. Meanwhile, the Bounce Messages feature lets you create custom messages for blacklisted senders, informing them they are blocked.
Example:
You might want to forward all emails from your supervisor to your personal email account to ensure you don’t miss any crucial communication.
Frequently Asked Questions (FAQs) about BoxTrapper
1. What is BoxTrapper and why is it useful?
BoxTrapper is an email verification tool in cPanel that helps in managing your email efficiently by filtering out spam and automated emails. It ensures only emails from verified senders reach your inbox, which is useful in maintaining a clutter-free email environment.
2. How do I activate BoxTrapper on my email account?
To activate BoxTrapper:
- Log into your cPanel.
- Navigate to the ‘Email’ section.
- Click on the ‘BoxTrapper’ icon.
- Select the email account you wish to enable BoxTrapper for and click ‘Enable’.
3. How do I customise the confirmation messages in BoxTrapper?
Within the BoxTrapper interface:
- Click on ‘Edit Confirmation Messages’.
- Customise the message as per your preference.
- Save the changes.
4. How do I manage the Whitelist and Blacklist?
In the BoxTrapper interface:
- Click on ‘Manage Whitelist/Blacklist’.
- To add an email address, enter it in the respective field and click ‘Add’.
- To remove an email address, click ‘Delete’ next to the email address you want to remove.
5. How do I review the emails held by BoxTrapper?
To review emails:
- Go to the BoxTrapper interface.
- Click on ‘Review Queue’.
- Here you can view the emails held for verification, and take necessary actions like approving or deleting them.
6. Can I forward emails to another account using BoxTrapper?
Yes, BoxTrapper has a ‘Forward List’ feature where you can specify email addresses whose emails will be forwarded to another account without requiring verification.
7. How do I get assistance if I face issues with BoxTrapper?
For assistance, you can contact our support team for more information and guides on BoxTrapper and other features.
